Introduction
Hydroponic indoor farming is rapidly gaining traction among New Zealand farmers—offering year-round production, precise nutrient control, and higher yields per square metre. Central to its success are hydroponic LED grow lights, which deliver targeted light spectra for optimal photosynthesis, reduce energy bills, and minimize heat output. Whether you operate a small greenhouse near Auckland or a large commercial setup in Canterbury, this guide will walk you through every step of setting up hydroponic LED lighting—helping you harness the full potential of LED grow lights NZ.
Benefits of Hydroponic LED Grow Lights
Energy Efficiency: LEDs boast PPE (photosynthetic photon efficacy) ratings above 2.2 µmol/J for commercial-grade fixtures, translating to 40–60% lower electricity costs compared to HPS.
Full-Spectrum Lighting: Many hydroponic LED grow lights offer balanced white light or tunable red/blue channels for both vegetative and flowering stages.
Low Heat Output: LEDs operate cooler, allowing fixtures to hang closer to the canopy without causing heat stress—ideal for densely packed hydroponic trays.
Longevity: Quality LED bars and panels are rated for 50,000+ hours, reducing replacement frequency and maintenance.
Precision Control: Dimming and programmable photoperiods let you tailor light intensity and duration to specific crops, increasing yields and uniformity.
By integrating hydroponic LED grow lights, NZ farmers can achieve faster growth cycles, tighter climate control, and significant savings on power and cooling infrastructure.
Key Components of a Hydroponic LED Lighting System
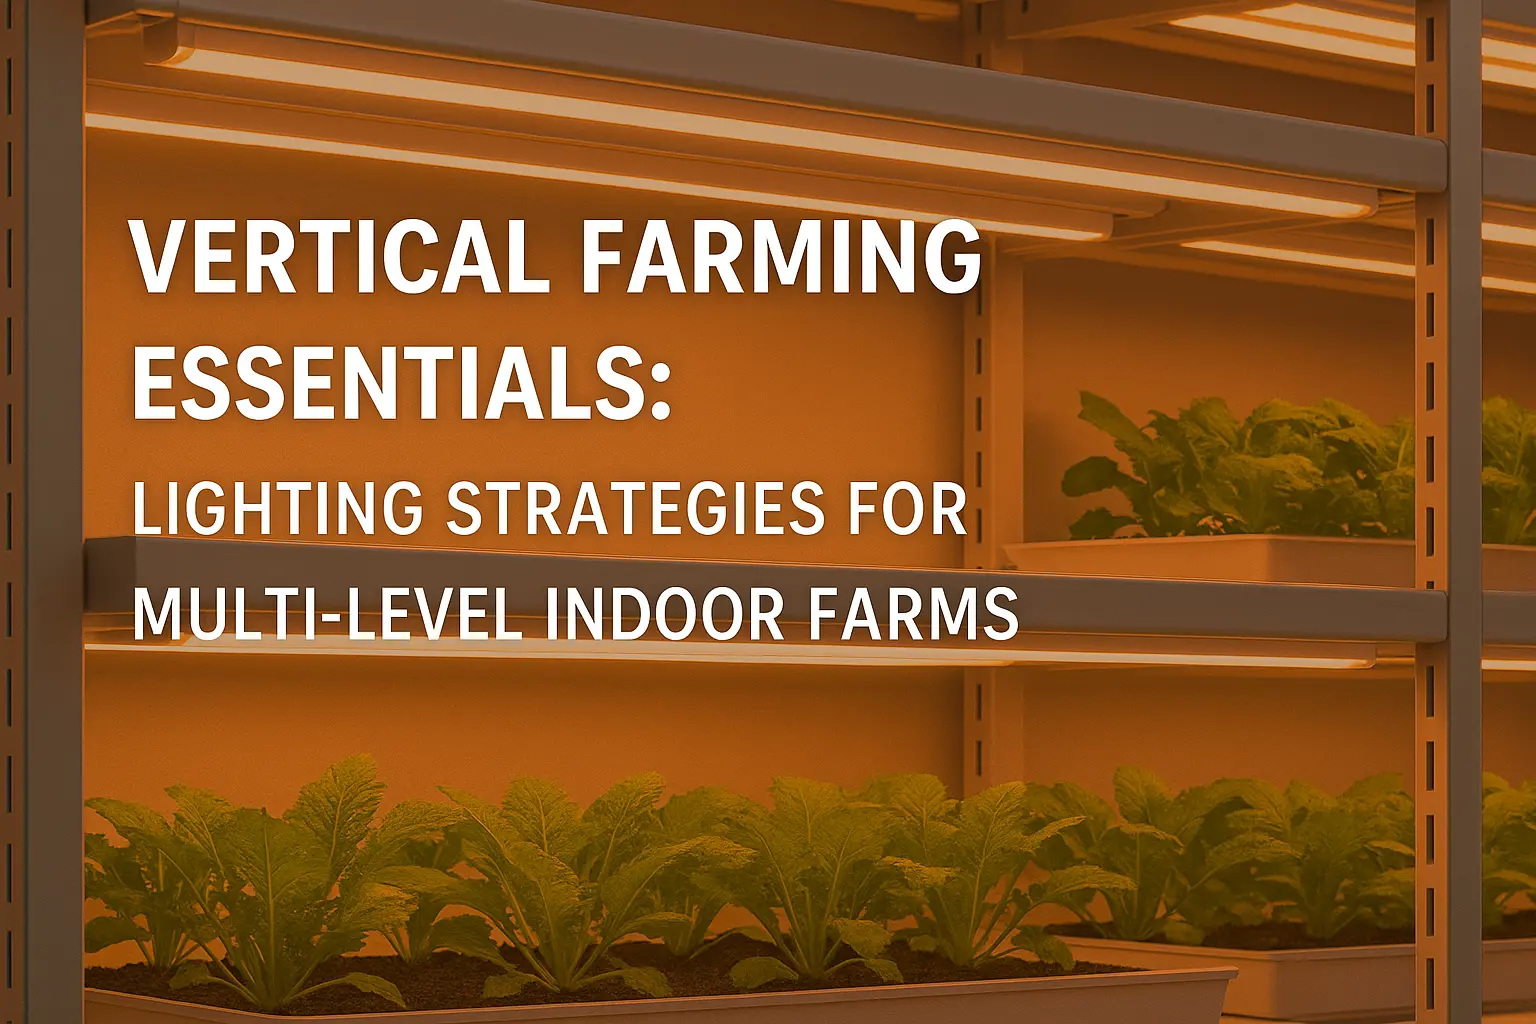
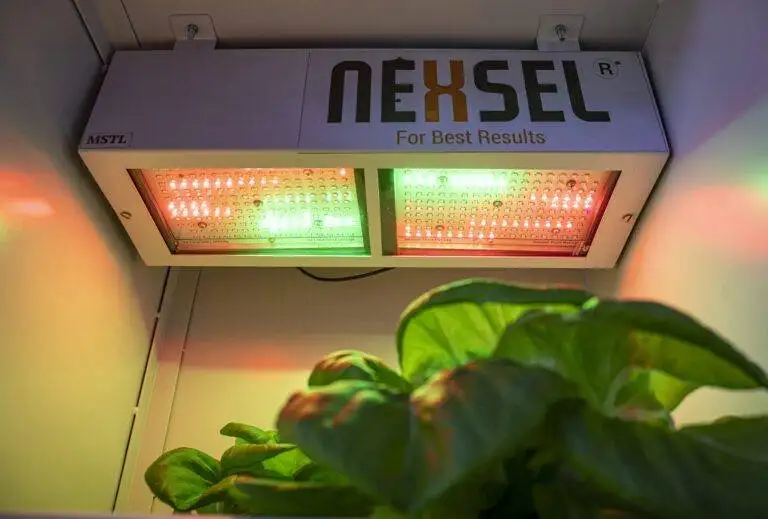
3.1 LED Grow Lights
LED Bars (9 W–17 W): Ideal for multi-tier vertical racks and narrow benches.
LED Panels (300 W–600 W): Suitable for large trays and greenhouse aisles.
COB/Quantum Boards: High-intensity modules for deep-canopy penetration.
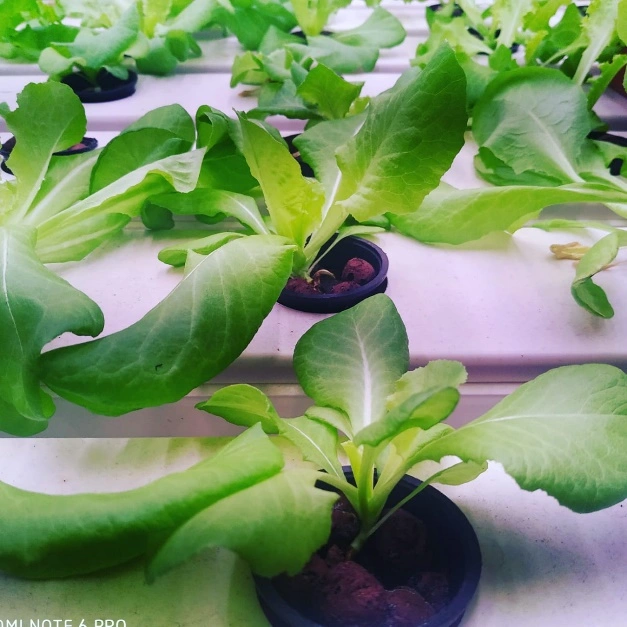
3.2 Hydroponic Growing Trays and Reservoirs
Nutrient Film Technique (NFT) Channels: Shallow channels for continuous nutrient flow.
Deep Water Culture (DWC) Tubs: Floating rafts for leafy greens.
Ebb & Flow Tables: Flood and drain systems for versatile crop choices.
3.3 Lighting Support & Suspension
Adjustable Ratchet Hangers: Easy height control without tools.
Hard-Mount Rails: Fixed installation for commercial greenhouses.
Reflective Hoods: Increase light uniformity and focus.
3.4 Environmental Controls
Climate Controllers: Automated temperature, humidity, and CO₂ regulation.
Timers & Dimmers: Set precise photoperiods (e.g., 16/8 veg, 12/12 bloom).
Ventilation & Cooling Fans: Maintain optimal ambient temperatures, especially in NZ summers.
Choosing the Right LED Grow Light for NZ Conditions
4.1 Spectrum and PPFD Requirements
Photosynthetically Active Radiation (PAR) spans 400–700 nm.
Aim for PPFD (µmol/m²/s) targets:
Leafy greens: 300–400 µmol/m²/s
Herbs: 400–600 µmol/m²/s
Fruit/flower crops: 600–900 µmol/m²/s
4.2 Wattage and Efficiency (PPE)
Choose fixtures with PPE ≥ 2.0 µmol/J for hobbyist setups; ≥ 2.2 µmol/J for commercial operations.
Calculate required wattage:
4.3 Coverage Area and Uniformity
Check manufacturer’s coverage chart for hang height vs. footprint.
Ensure uniform PPFD across trays—avoid hotspots by staggering fixtures or using multiple LED bars.
5. Step-by-Step Installation Guide
5.1 Site Preparation
Clean & Sanitize: Ensure trays, walls, and benches are free of pathogens.
Layout Planning: Map tray positions, walkway space, and service access.
Electrical Check: Verify circuits can handle the load; install dedicated lines if necessary.
5.2 Mounting and Placement of LED Lights
Measure Canopy Area: Determine length and width to calculate number of fixtures.
Hang Lights: Use ratchet hangers at recommended heights (see Section 3.3).
Align Fixtures: Overlap coverage zones by 10–15% to ensure uniformity.
5.3 Connecting to Power and Controls
Group Fixtures: Wire panels/bars to common dimmer/timer channels.
Install Timers/Dimmers: Program photoperiods and intensity ramps (e.g., dawn/dusk sim).
Test Circuits: Turn on each zone individually; verify proper operation.
5.4 Setting Photoperiod and Intensity
Vegetative Stage: 16–18 hours ON, 6–8 hours OFF
Flowering Stage: 12 hours ON, 12 hours OFF
Dimming: Start seedlings at 50% intensity, ramp up by 10% increments over a week.
6. Optimizing Light for Different Crops
6.1 Leafy Greens and Herbs
Light Level: 300–400 µmol/m²/s
Fixture Recommendation: 17 W LED bars spaced every 30 cm for narrow trays.
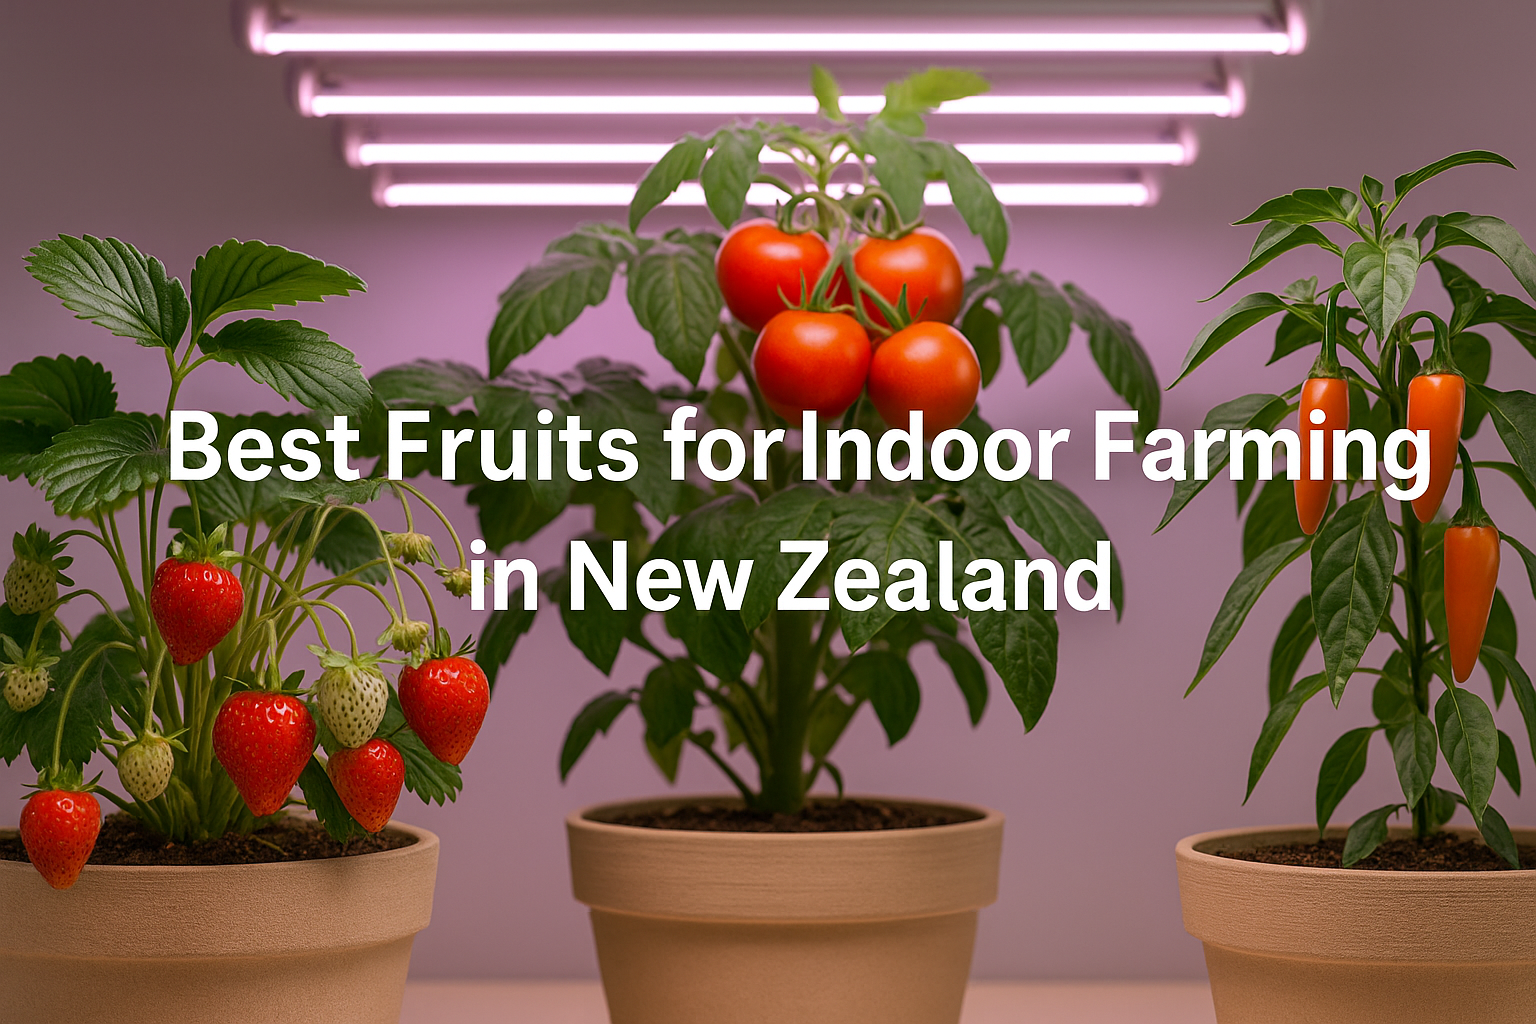
6.2 Fruit-Bearing and Flowering Crops
Light Level: 600–800 µmol/m²/s
Fixture Recommendation: 600 W panels hung 25 cm above canopy; supplement with red spectrum during bloom.
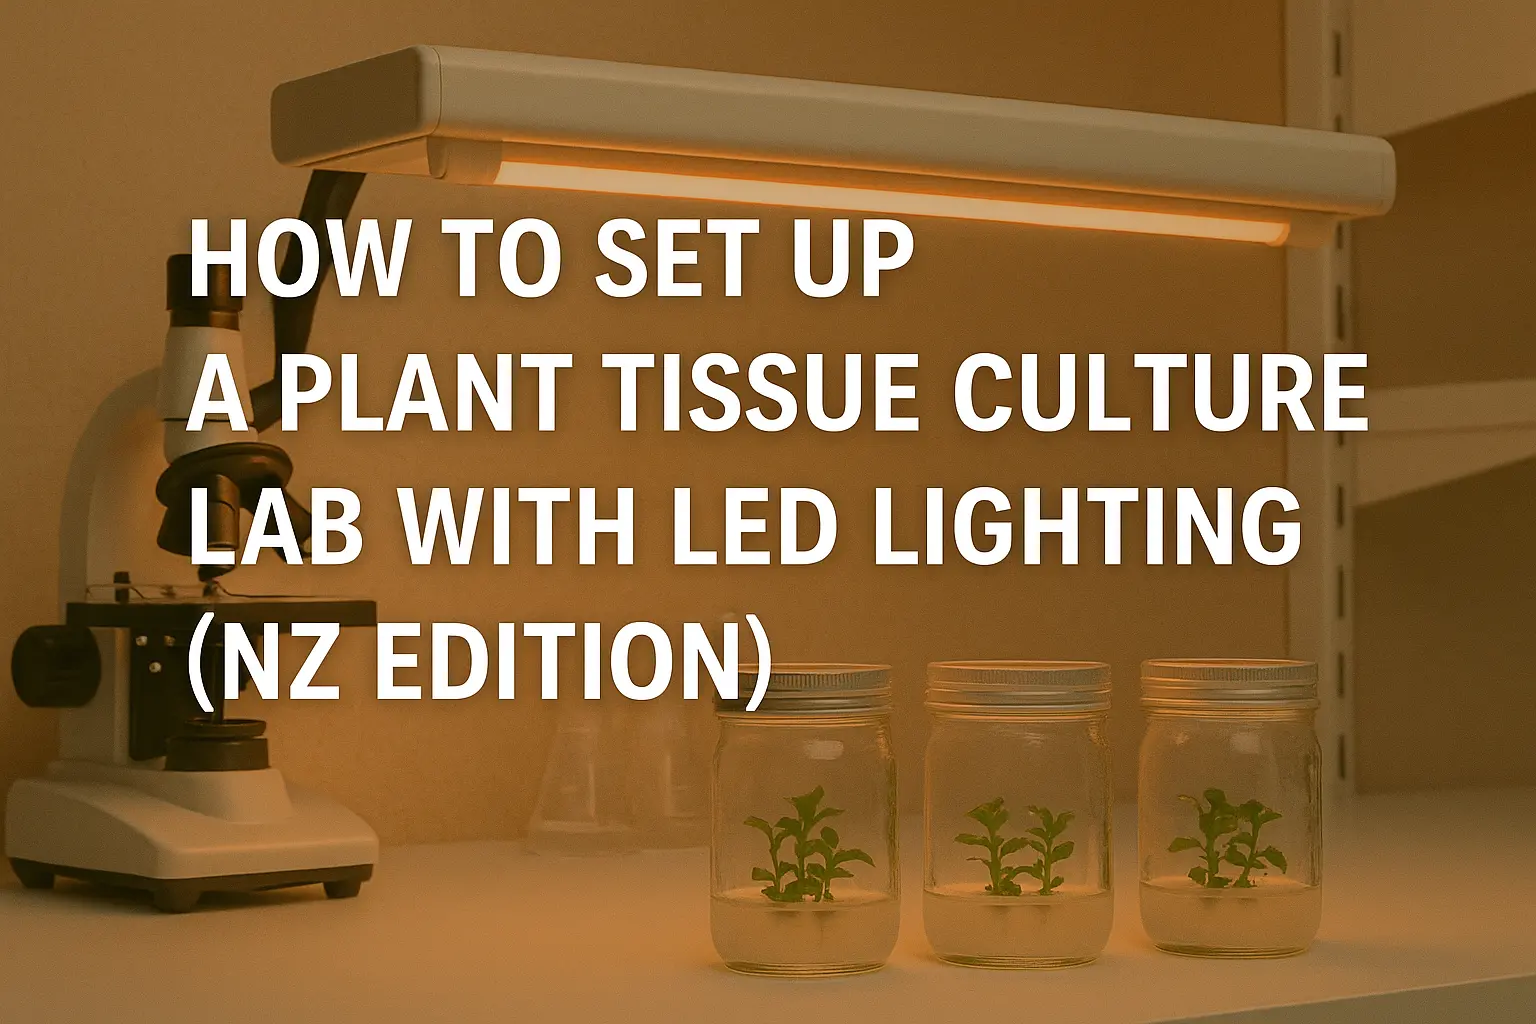
6.3 Seedlings and Clones
Light Level: 100–200 µmol/m²/s
Fixture Recommendation: Low-wattage panels or under-rack LED bars, dimmed to ~50%.
7. Maintenance & Troubleshooting
7.1 Cleaning and Inspection
Bi-monthly: Wipe down LED lens covers and heatsinks to remove dust and humidity residue.
Quarterly: Check wiring connections for corrosion or wear.
7.2 Monitoring Light Output
Use a PAR meter to log PPFD readings at canopy level.
Track changes—if PPFD drops >15%, clean fixtures or adjust hang height.
Issue | Possible Cause | Solution |
---|---|---|
Uneven Growth | Light hotspots/low zones | Reposition fixtures; add reflectors |
Leaf Bleaching or Curling | Excessive intensity or heat | Raise fixtures; lower PPFD by 10–20% |
Fixture Shutdowns | Overheating or electrical trip | Inspect cooling fans; upgrade circuit breakers |
8. New Zealand–Specific Considerations
8.1 Seasonal Energy Costs
Winter (May–Aug): Short daylight leads to longer run times—optimize schedules to avoid peak–rate hours.
Summer (Nov–Feb): Increased ambient temperature may require additional cooling—use LEDs’ low heat output to your advantage.
8.2 Local Suppliers and Warranty
Growlight.co.nz stocks Nexsel Tech fixtures with NZ warranty and local technical support.
Lead Times: 3–5 business days for major centers; allow 7–10 days for rural deliveries.
8.3 Regulatory Compliance
Ensure CE and RoHS certifications for electrical safety.
Follow NZ’s Electrical (Safety) Regulations when installing commercial circuits.
9. Maximizing ROI and Sustainability
Energy Savings: LEDs can cut electricity usage by 40–60%, yielding payback in 12–18 months on commercial panels.
Water Efficiency: Hydroponic systems use up to 90% less water; combined with LED lighting, this boosts your sustainability credentials.
Carbon Footprint: Lower energy draw reduces greenhouse gas emissions—a key consideration for NZ’s growing export market.
10. Conclusion & Next Steps
Implementing a hydroponic LED grow light system is a strategic investment for New Zealand farmers—delivering consistent yields, reduced operating costs, and year-round production. Follow this guide to:
Select fixtures with the right spectrum, PPE, and coverage for your crop.
Install with precision—align fixtures, program timers, and ensure proper ventilation.
Maintain regularly—clean, monitor PPFD, and troubleshoot promptly.
Optimize schedules seasonally to manage energy costs in NZ.
Ready to elevate your hydroponic farm? Explore our full range of hydroponic LED grow lights NZ and contact our experts at Growlight.co.nz for tailored solutions and support. Happy growing!
Frequently Asked Questions (FAQs)
What’s the ideal distance to hang hydroponic LED grow lights above my nutrient trays?
Answer: For most LED grow light bars and panels, start at 30–45 cm above the canopy for seedlings, 25–30 cm for vegetative leafy greens, and 20–25 cm for flowering or fruiting crops. Adjust height based on your PAR meter readings—aim for 300–400 µmol/m²/s for greens and 600–800 µmol/m²/s for flowering—to avoid light burn and ensure uniform coverage.
How many watts of LED lighting do I need per square metre in a hydroponic system?
Answer: Budget for 30–50 W/m² of high-efficiency LEDs (PPE ≥ 2.2 µmol/J) for leafy greens and herbs, and 60–80 W/m² for fruiting or flowering crops. Calculate your total wattage by multiplying your grow area (m²) by the recommended W/m² to ensure proper light intensity.
How often should I clean and inspect my hydroponic LED fixtures?
Answer: Clean lenses and heatsinks every 4–6 weeks to remove dust, nutrient mist, and humidity residue that reduce light output. Inspect wiring, connections, and suspension hardware at the same time to catch loose cables or corroded terminals before they cause fixture failures.
Can I run hydroponic LED grow lights 24/7 for faster growth?
Answer: While LEDs can operate continuously, plants need dark periods for metabolic processes. For most hydroponic setups, use a 16 hours ON / 8 hours OFF schedule in vegetative stages and 12 hours ON / 12 hours OFF for flowering. Extended light beyond 18 hours can stress plants and reduce yield quality.
What’s the average energy cost of running a 600 W LED panel in New Zealand?
Answer: At NZ’s commercial rate (~NZD 0.25 kWh), a 600 W panel running 16 hours/day consumes 9.6 kWh daily—about NZD 2.40/day or NZD 72/month. Compared to a 600 W HPS lamp (plus ballast and cooling), you save 40–60 % on power bills.
How do I know if my LED lights are failing or need replacement?
Answer: Use a PAR meter to track PPFD. If you see a 15 % drop from your baseline readings after cleaning, or notice flickering LEDs or discoloration, it’s time to repair or upgrade. Quality LEDs are rated for 50,000+ hours, but real-world factors like humidity can shorten lifespan.
Which hydroponic crops perform best under LED grow light bars?
Answer: Leafy greens (lettuce, kale, spinach), herbs (basil, mint, coriander), and microgreens thrive under linear LED bars due to their uniform canopy coverage and lower PPFD requirements. For heavier feeders like tomatoes or peppers, supplement with higher-power panels or COB fixtures to meet elevated light demands.
Design & Developed By VBTEK
Request A Call back
Nexsel is a research-driven horticultural lighting manufacturer that provides LED grow lights for biotech and horticulture purposes.
Enquire Now
Leave A Comment